Helios Grade
Film character, from input to finish.
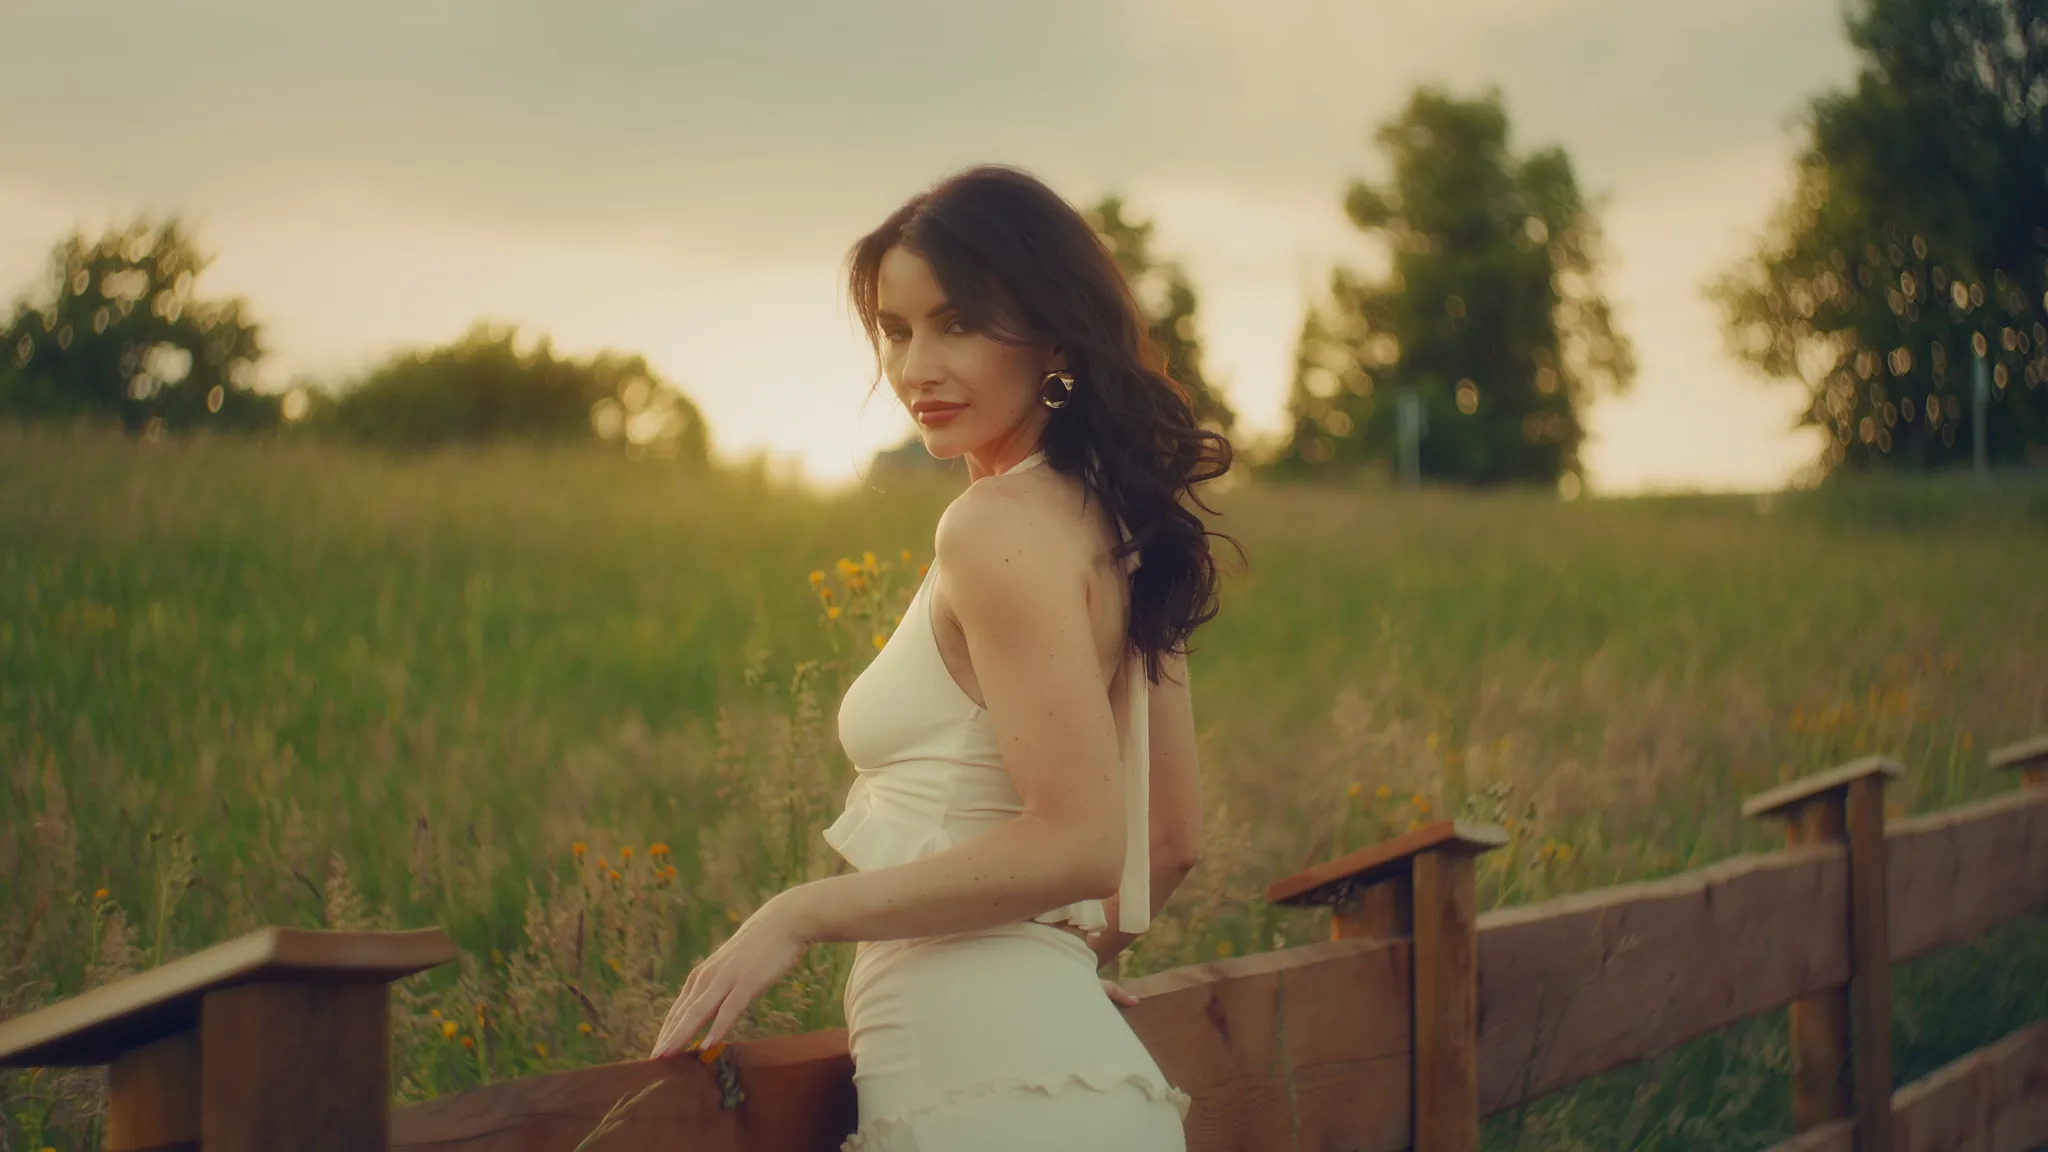
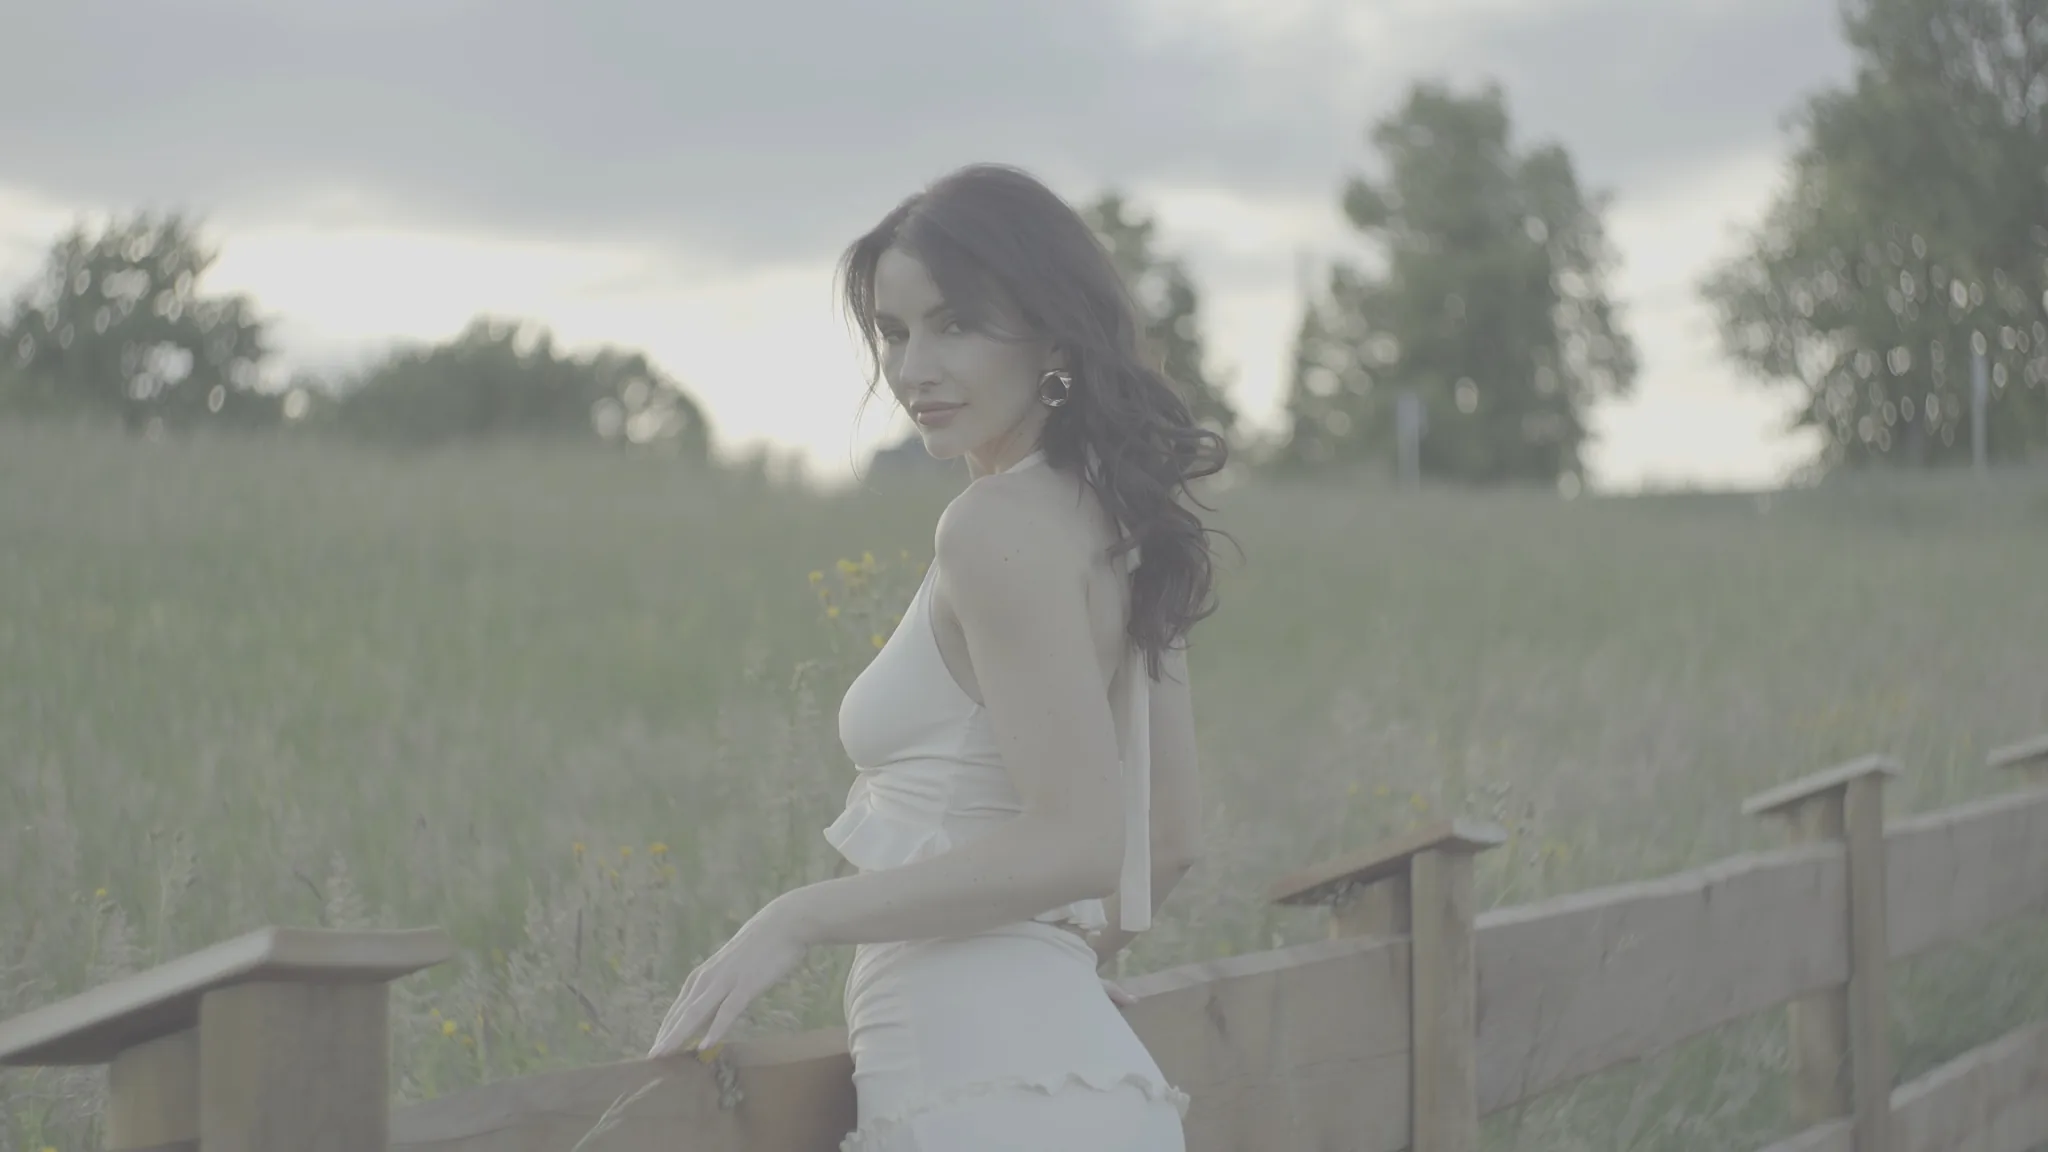
From camera input to film character. Convert supported log footage, blend a print look, then shape colour, light and grain inside DaVinci Resolve.
Works in both editions: DaVinci Resolve (free) and DaVinci Resolve Studio, on macOS and Windows.
Perpetual licence
Free watermarked version · No time limit
Try on your footage
The complete plugin, watermarked. No account, card or expiry. A licence removes the watermark, with a 15-day refund if it isn't right.
DaVinci Resolve 18.0 or later. Works in both the free and Studio editions.
Windows v1.13.0 · macOS v1.13.0
Installation steps for macOS & WindowsBuy once. Remove the watermark.
Activate on up to 3 computers with a perpetual licence. The plugin and every creative module are already in the free download above.
One payment. Yours for good.
Price includes 18% GST.
International cards accepted. The price is in Indian Rupees — your card or bank converts it if you're paying from outside India.
You'll be asked to accept the terms and refund policy before paying.
Need help installing or activating? Read the Helios Grade help page.
Build the finish you pictured.
Independent creative controls. A visible starting point. Enough room to make it your own.
New in this release
A better starting point.
More ways to finish.
Camera input conversion now lives beside the creative tools. Helios WDR brings technical log inputs into an SDR starting point with a smooth highlight roll-off.
See the input workflowWDR concept · tone shaping, not a measured camera curve
Find your print.
All 89 looks, in the same families as the plugin. Explore a family or search for a favourite.
Stock and simulation names describe the inspiration. These are Helios interpretations, not measured reproductions. Grain and halation are separate controls.
89 of 89 looks
Dense colour and contrast inspired by cinema release prints.
- Kodak 2383
- Fujifilm 3513
Camera-negative character for a cinematic starting point.
- Kodak Vision3 500T (5219)
- Fuji ETERNA 250D
- CineStill 800T
Interpretations of familiar Fujifilm colour personalities.
- Fujifilm Reala Ace
- Fujifilm Classic Chrome
- Fujifilm Classic NegativeNew
- Classic Chrome Warm
- Fujifilm Eterna
- Fujifilm Eterna Pushed
- Fujifilm Nostalgic NegativeNew
From gentle portrait colour to warmer, denser negatives.
- Kodak Portra 160
- Kodak Portra 400
- Kodak Portra 800
- Kodak Gold 200New
- Agfa Vista 200
- Fujicolor Superia X-TRA 400
- Fujifilm Pro 400H
- Soft Negative
- Dense Negative
- Pastel Negative
- Warm Negative
- Cool Negative
- Earth Negative
- Clean Negative
- Peach Negative
Reversal-inspired colour, from soft pastels to deeper contrast.
- Kodachrome 64
- Kodak Ektachrome E100New
- Fujichrome Velvia 50
- Fujichrome Astia 100F
- Soft Chrome
- Pastel Chrome
- Dense Chrome
- Deep Chrome
- Warm Slide
- Faded Chrome
Lifted shadows, restrained colour and softer tonal separation.
- Faded Negative
- Vintage Color
- Expired Color
- Old Negative
- Amber Lift
- Milky Dense
- Nordic Flat
- Nordic Dusk
- Summer Haze
- Summer Print
- Cold Front
Alternative-process character and deliberate colour shifts.
- Kodak Aerochrome IR
- Technicolor 2-Strip
- Technicolor 3-Strip
- Bleach Bypass
- Silver Retention
- Cross Process
- Faded Release Print
- Tungsten on Daylight
- Daylight on Tungsten
Distinctive palettes for a more stylised finish.
- Chroma Punch
- Teal & Amber
- Institutional Green
- Nocturne
- Ember
- Gilded
- Toy Camera
- Burnished
- Dry Season
- Studio Teal
- Lilac Lift
- Red Shadow
- Green Shadow
- Dark Teal
Black-and-white responses, plus warm and cool toning.
- Kodak Tri-X 400
- Eastman Double-X 5222
- Fujifilm Neopan Acros 100 II
- Agfa Scala 200
- Ilford Pan F Plus 50
- Ilford HP5 Plus 400New
- Ilford SFX 200
- Cold Mono
- Warm Mono
Colour. Light. Texture.
Use one module or build a finish. Each gives you a different decision to make.
Shape the colour
Print profiles, colour density and split toning give the grade its palette and contrast.
Shape the light
Mist, Glaze, Halation and Glow soften texture and give highlights atmosphere.
Finish the surface
Frame-varying grain, Sharpen, Vignette and Blanking control detail and the edges.
Control illustrations
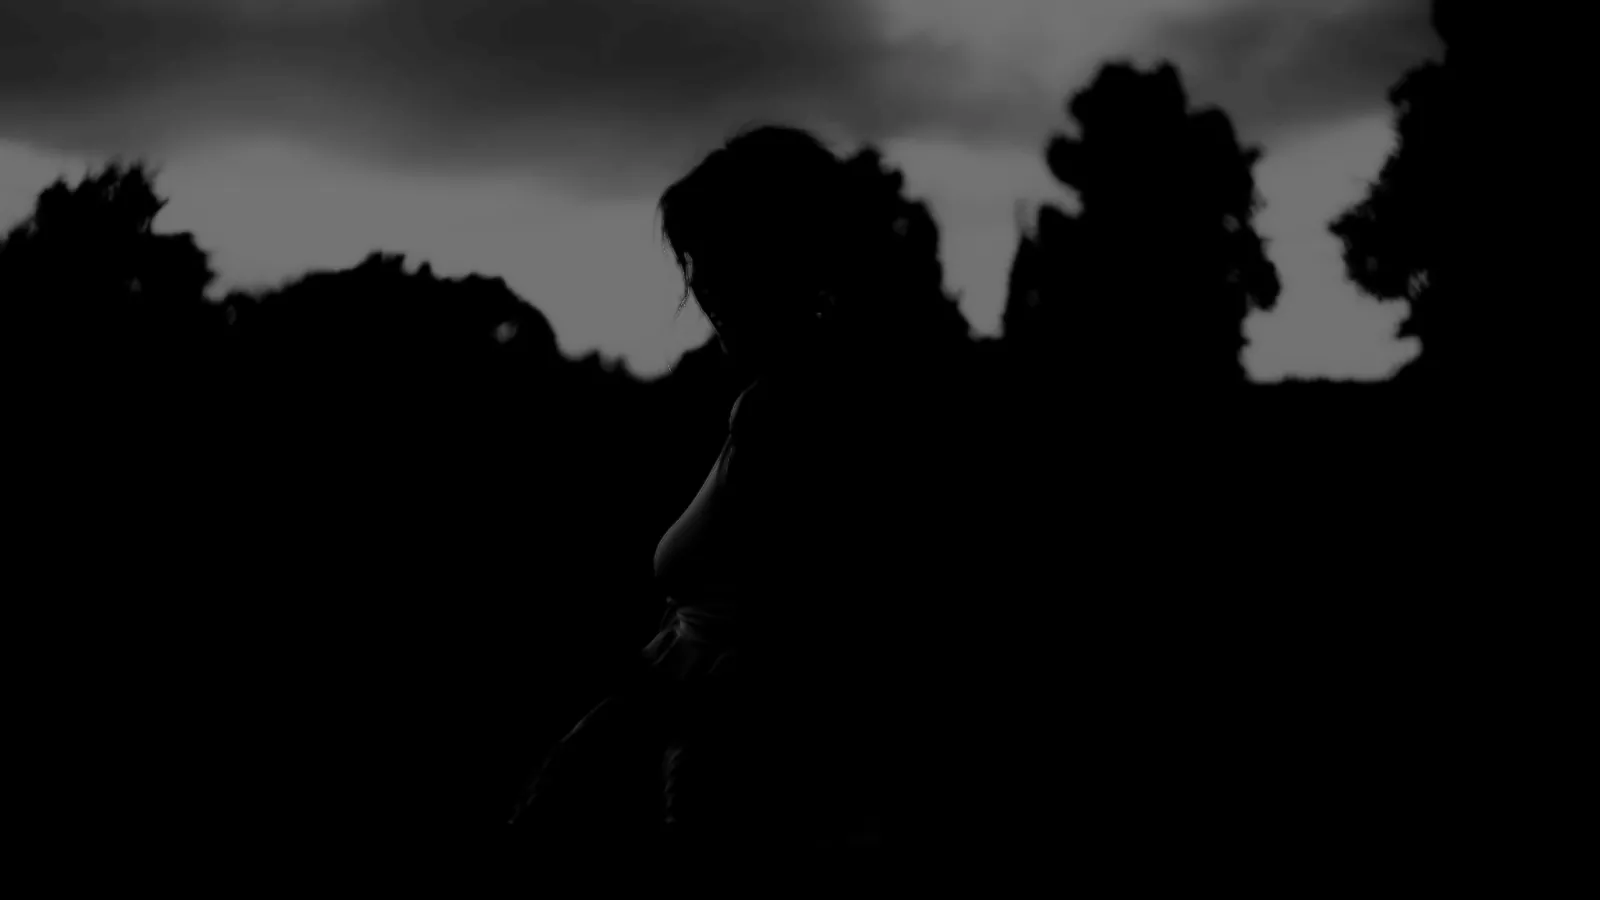
See where the effect lands.
Mask views make thresholds easier to judge. Isolate the highlights, turn the mask off, then blend the effect into the image.
Explore the grade and its masksOne conversion. Two ways in.
Match the signal that reaches Helios, including its gamut. A camera brand alone is not enough.
Supported camera input
- 01Camera log + matching gamut
- 02Helios: select the exact Input Profile
- 03Rec.709 + Helios WDR, or DWG / Intermediate
WDR shapes technical camera inputs for an SDR finish, with a smooth highlight roll-off. DWG needs a later display transform.
Missing profile or conversion trouble?
- 01Resolve CST: exact source gamma + gamut
- 02Output: Rec.709 / Gamma 2.4
- 03Helios: Already converted + Rec.709 / sRGB
Use a CST if you prefer its result or your profile is missing. If Resolve also lacks the profile, use the camera maker’s matching conversion LUT upstream. D-Log M and D-Log are different.
Working in DaVinci Wide Gamut instead?
Have Resolve colour management or a CST deliver DaVinci Wide Gamut / DaVinci Intermediate to Helios. Select Already converted, then set Working / Output Space to DWG / Intermediate. Use the project’s output transform, or a downstream CST, for your display. Do not add another camera input conversion. RAW must be decoded in Resolve first.
Updating an existing grade?
Saved print selections keep their IDs, and the new Print Contrast and Print Color controls default to 100%, which changes nothing. Some looks render differently in 1.13, so an old project may not match. Keep your project backup and previous plugin when matching delivered work.
What renders differently in 1.13?
On Rec.709 with Helios WDR, print looks no longer darken mid grey, so WDR grades that use a print look render lighter. Rec.709 Technical and DWG / Intermediate are unchanged by this.
Fujifilm Pro 400H was retuned so skin no longer turns olive. Kodak 2383 and Fujifilm 3513 keep very saturated magenta-reds instead of turning them toward red; skin and ordinary colours are unchanged.
Very bright highlights are cleaner: Mist and Glow no longer turn a superwhite sun blue on Technical output, and on DaVinci Wide Gamut a camera-clipped highlight, strong halation or sharpening no longer turns bright warm areas yellow-green. Delivered files are unaffected.
Coming from a version before 1.12?
Kodak Portra 400, Deep Chrome, Milky Dense, Nordic Dusk, Cold Front, Tungsten on Daylight, Nocturne, Lilac Lift and Green Shadow were tuned in 1.12. Input profiles are alphabetised, and Film Print appears before Split Tone in the panel; the internal processing order is unchanged.