Using Helios Grade4 min full guide
Luminosity masking for DaVinci Resolve
Luminosity masking for Resolve. Three bands, each a soft selection of a range of the exposure scale — place it, set how wide and how soft, then shape what it found. Every mask is one checkbox away from being visible, so you are placing a selection by looking at it rather than guessing.
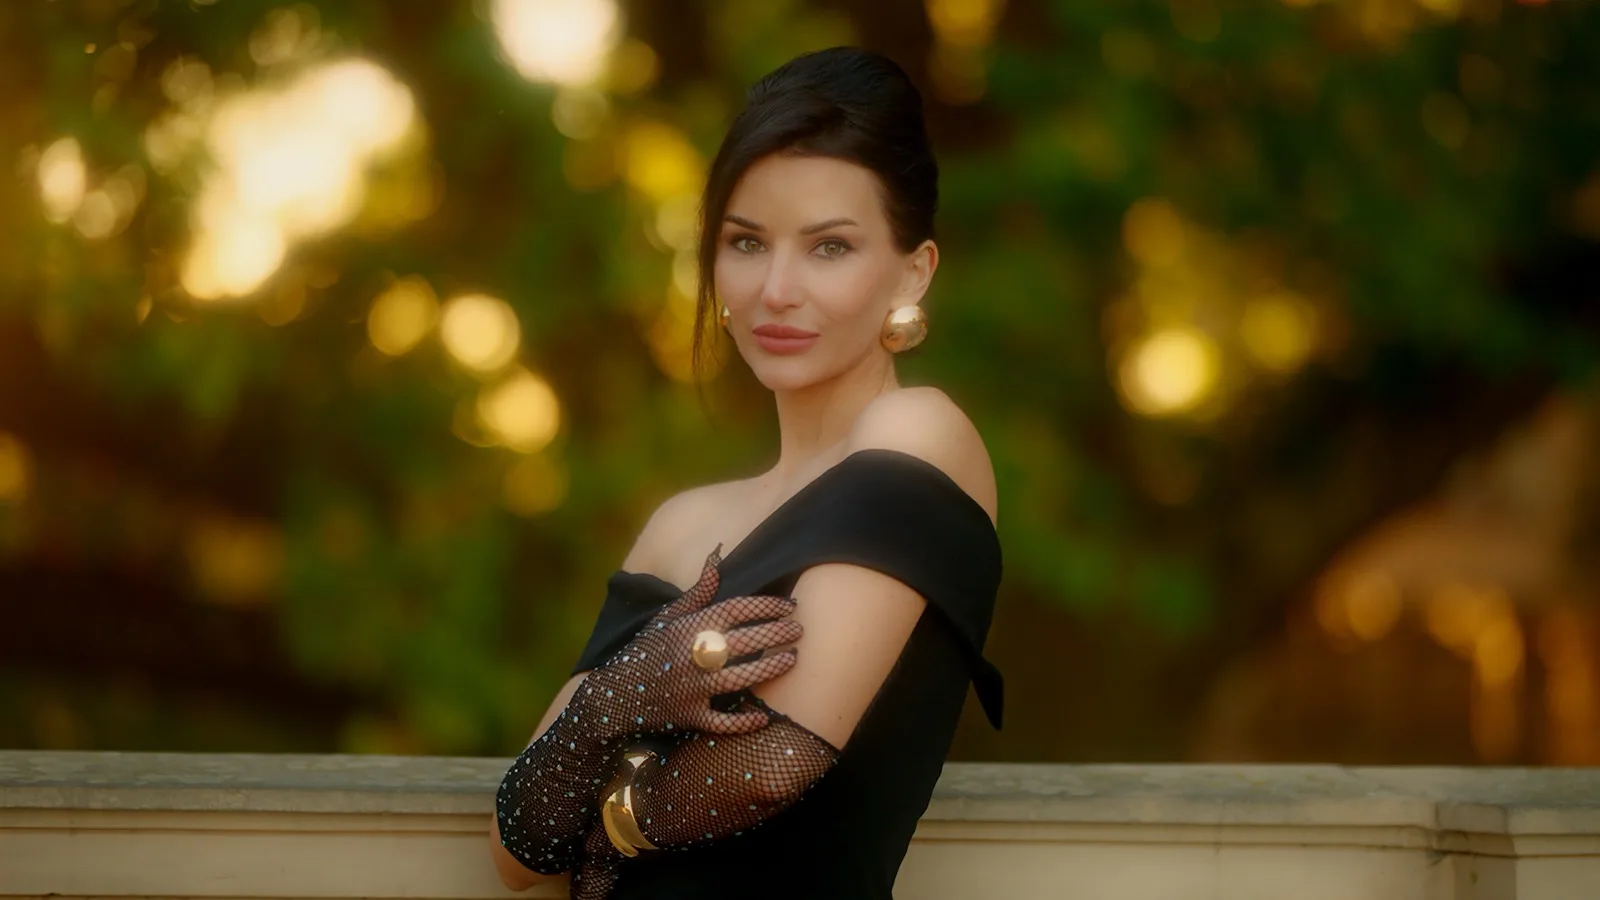
It also knows about faces. The skin unit is built on the skin locus rather than a single reference tone, and its Protect mode holds every band off the people in frame — which is how you lift the shadows in a shot without lifting the shadow side of somebody's face.
Shadows, midtones or highlights — place a band where the problem is instead of qualifying a colour that only partly overlaps it.
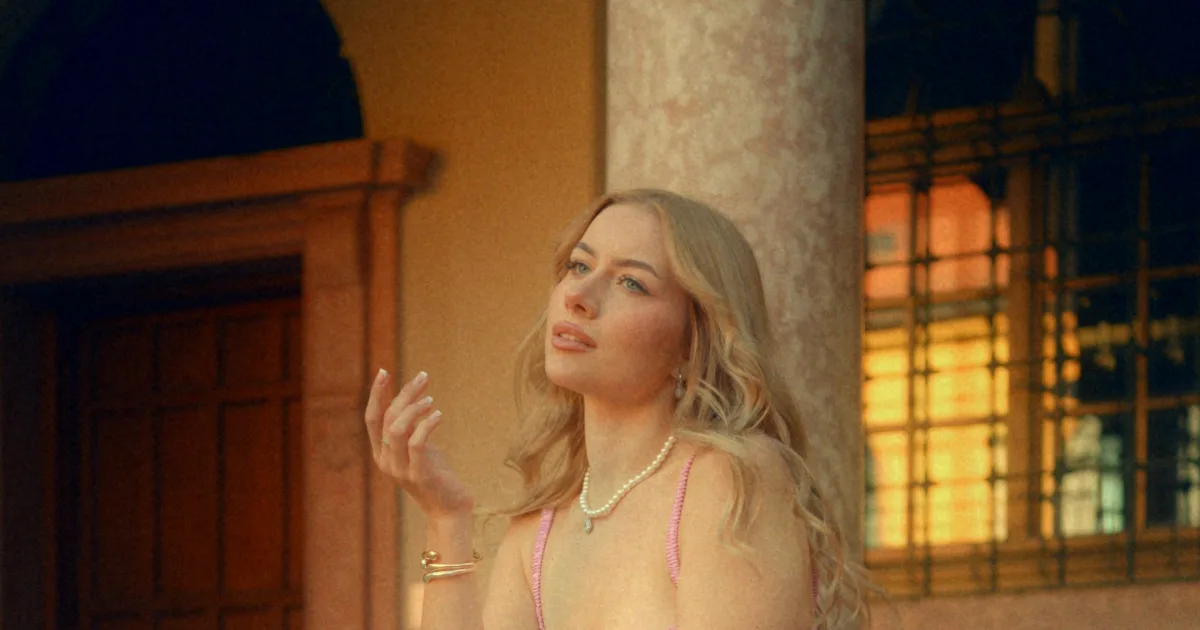
A band over the top of the scale, with enough rolloff that the horizon does not show a seam.
Turn on Protect Skin. The bands keep doing what they were doing, and stop doing it to people.
Perpetual licence
Try on your footage
The complete plugin, watermarked. No account, card or expiry. A licence removes the watermark, with a 15-day refund if it isn't right.
DaVinci Resolve 18.0 or later. Works in both the free and Studio editions.
Windows v1.0.1 · macOS v1.0.1
Installation steps for macOS & WindowsActivate on up to 3 computers with a perpetual licence. The plugin and every creative module are already in the free download above.
₹1,180
One payment. Yours for good.
Price includes 18% GST.
International cards accepted. The price is in Indian Rupees — your card or bank converts it if you're paying from outside India.
You'll be asked to accept the terms and refund policy before paying.
Need help installing or activating? Read the Locus help page.
A qualifier asks you to control three axes at once and then drifts when the exposure moves under it. A luminosity band is one axis you can see, and it holds.
Every unit measures the same untouched pixel, so two bands that overlap share it rather than stacking on it. Nothing here is a preset and nothing is automatic — but there is little enough of it that you can hold the whole panel in your head.
Darks, Midtones and Lights — each a soft selection of a range of the exposure scale. Place it with Tone, set how much of the scale it covers with Width, and set how gently it lets go with Rolloff.
Use when · Use it when the correction belongs to a tonal range rather than to a colour: lifting shadows, holding back a sky, warming only the highlights.
Try · Set Tone and Width with the mask showing, then turn the mask off before touching Exposure. Placing first and grading second keeps the two decisions separate.
Skin is not one colour, it is a curve through colour space whose position and width both move with depth. The selection is built on that curve, with defaults fitted across a published multi-country archive of measured skin.
Use when · Use it when a tonal move is doing the right thing to the frame and the wrong thing to a face.
Try · Turn on Protect Skin and leave the skin sliders alone. In that mode the unit shapes nothing — it just holds every band off the faces it finds.
Each unit carries its own Show Mask, sitting directly under the switch that turns it on. It replaces the picture with that unit's mask in greyscale — white where it is fully selected, black where it is not.
Use when · Use it the moment a control seems to do nothing. Nine times in ten the selection is somewhere other than you think.
Try · Leave the mask on while you drag Tone. Watching the white move up and down the frame is faster than reasoning about numbers.
The bands are drawn on the encoded signal, so a band at 0.5 is centred on what the waveform shows at 50 — on a log timeline as much as on a display-referred one. Rec.709/sRGB and DaVinci Wide Gamut / Intermediate both work natively.
Use when · Use it when you are matching a band to something you can see on a scope rather than guessing at a number.
Try · Put the waveform next to the panel. Tone is the same axis you are already reading.
Resolve can reach some of these places with a qualifier or the log wheels. Locus is for when you want the selection to be one honest axis you can see, and to keep meaning the same thing when the exposure moves under it.
A luminosity band cannot avoid a face by accident — skin sits at the same exposures as everything else. Protect Skin is the switch that makes the difference.
Put a band over the top of the scale and leave the rest alone. Wide Rolloff so the horizon does not show a seam.
If what you actually mean is a tonal range rather than a colour, one axis is easier to control than three — and it holds together when the exposure moves under it.
Almost every problem with a luminosity mask is a placement problem wearing a grading problem's clothes. Separating the two steps is most of the skill.
Set Input Color Space to match your timeline — Rec.709/sRGB, or DaVinci Wide Gamut / Intermediate. OFX gives a plugin no way to ask, so this is a declaration and everything below reads light according to it.
Enable, then Show Mask. Before deciding what a band should do, find out what it is holding. This is the step most people skip and then spend ten minutes wondering why a slider feels dead.
Tone moves the band up and down the exposure scale; Width decides how much of the scale is fully selected. The section labels say where each band opens, not where it is stuck.
Rolloff is what decides whether the result reads as a grade or as a band. Too little and the boundary shows in every gradient — a sky is where you will see it first.
Exposure, Density, Saturation and a Tint for split-toning. If a band is catching people as well as the room, switch the skin unit to Protect and it will hold the band off them.
Rendered on the GPU, with the CPU path kept as a genuine fallback rather than the only route.
Each tutorial builds the effect from Resolve's own tools first, so you can judge what the plugin is actually saving you.
We need a small number of cookies to keep you signed in and to protect the checkout. Everything else — measurement and advertising — stays switched off unless you turn it on. Read the cookie policy.