A first look.
Then make it yours.
Start with three decisions: the input, the print and how much texture the shot needs.
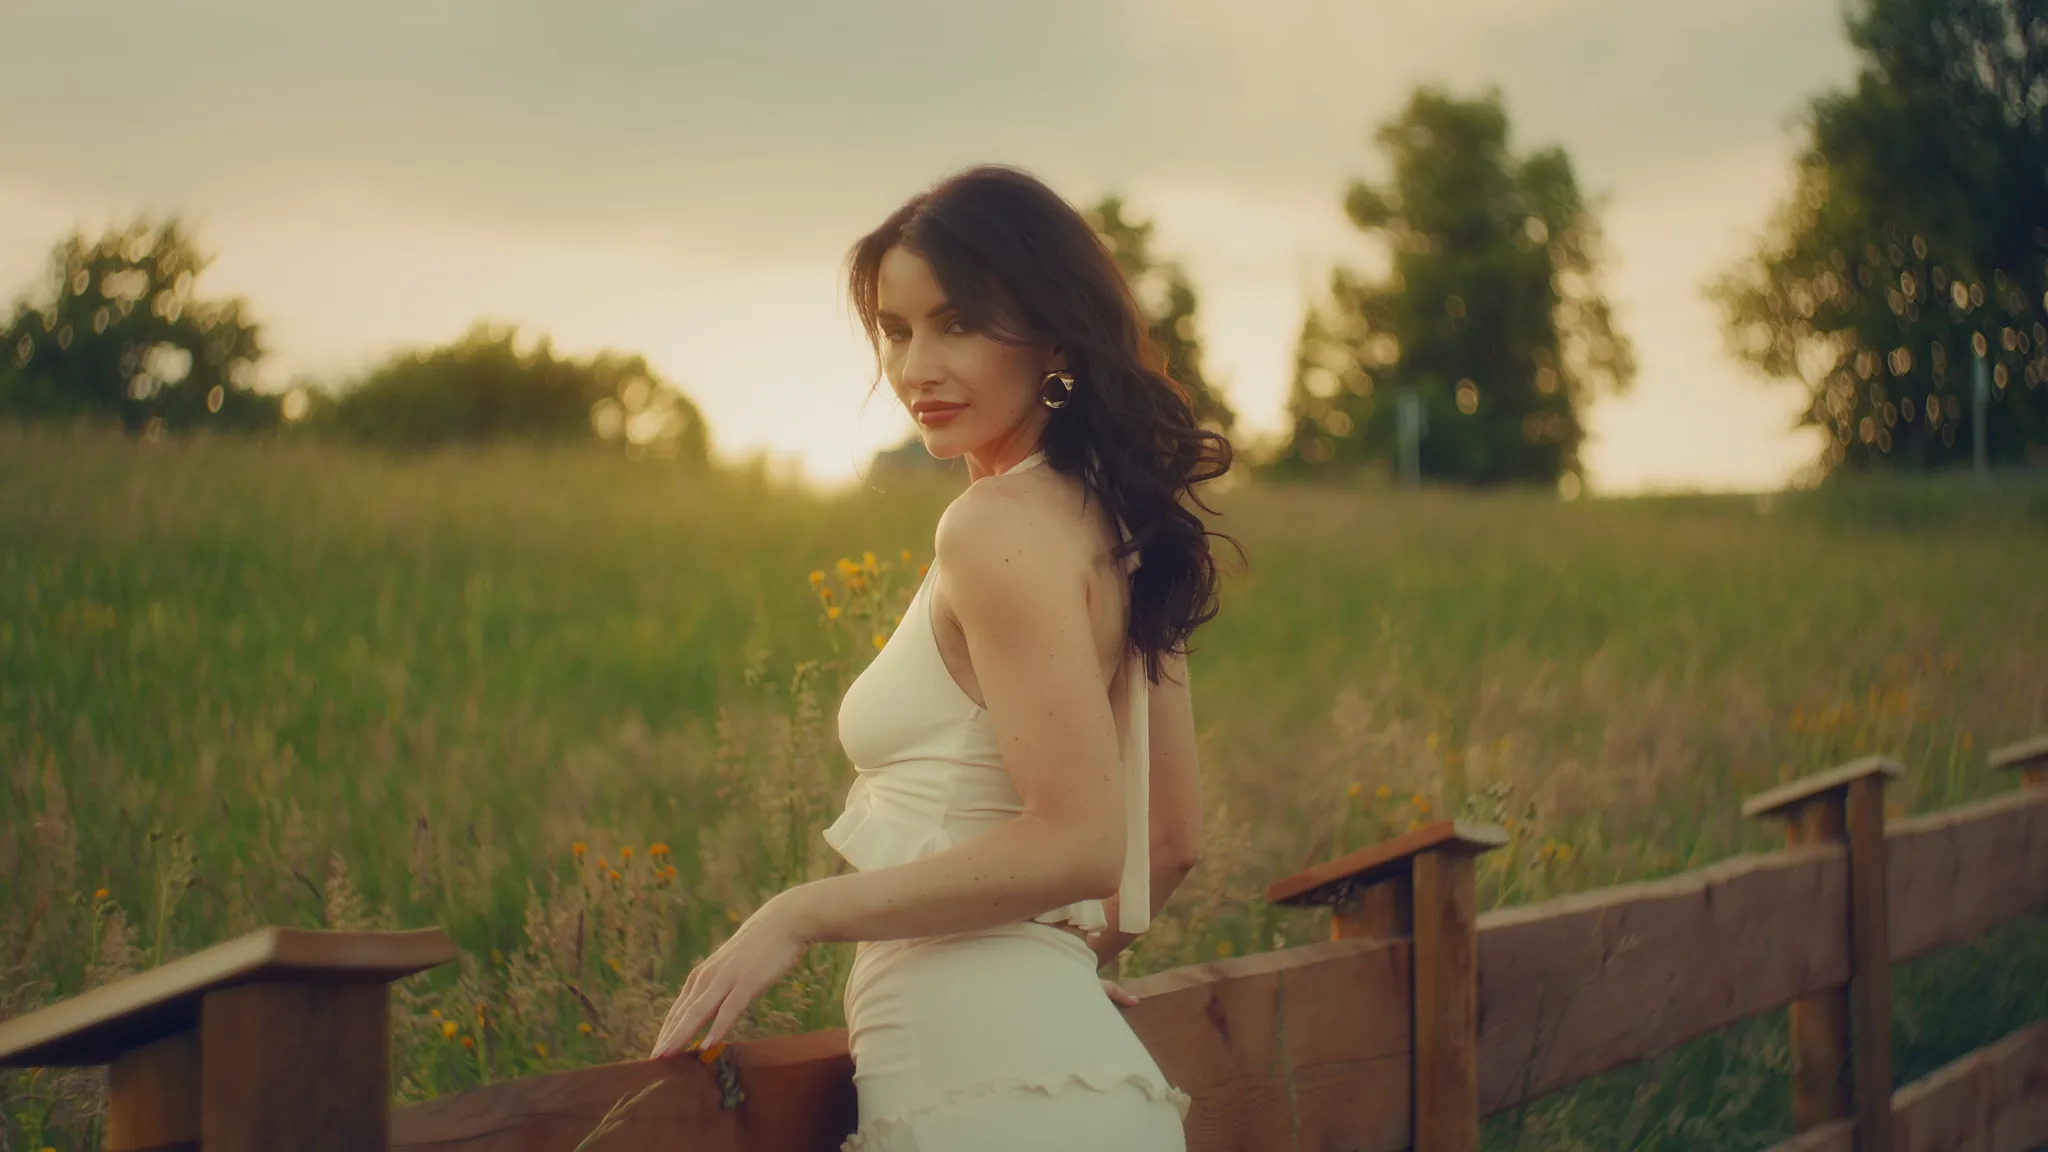
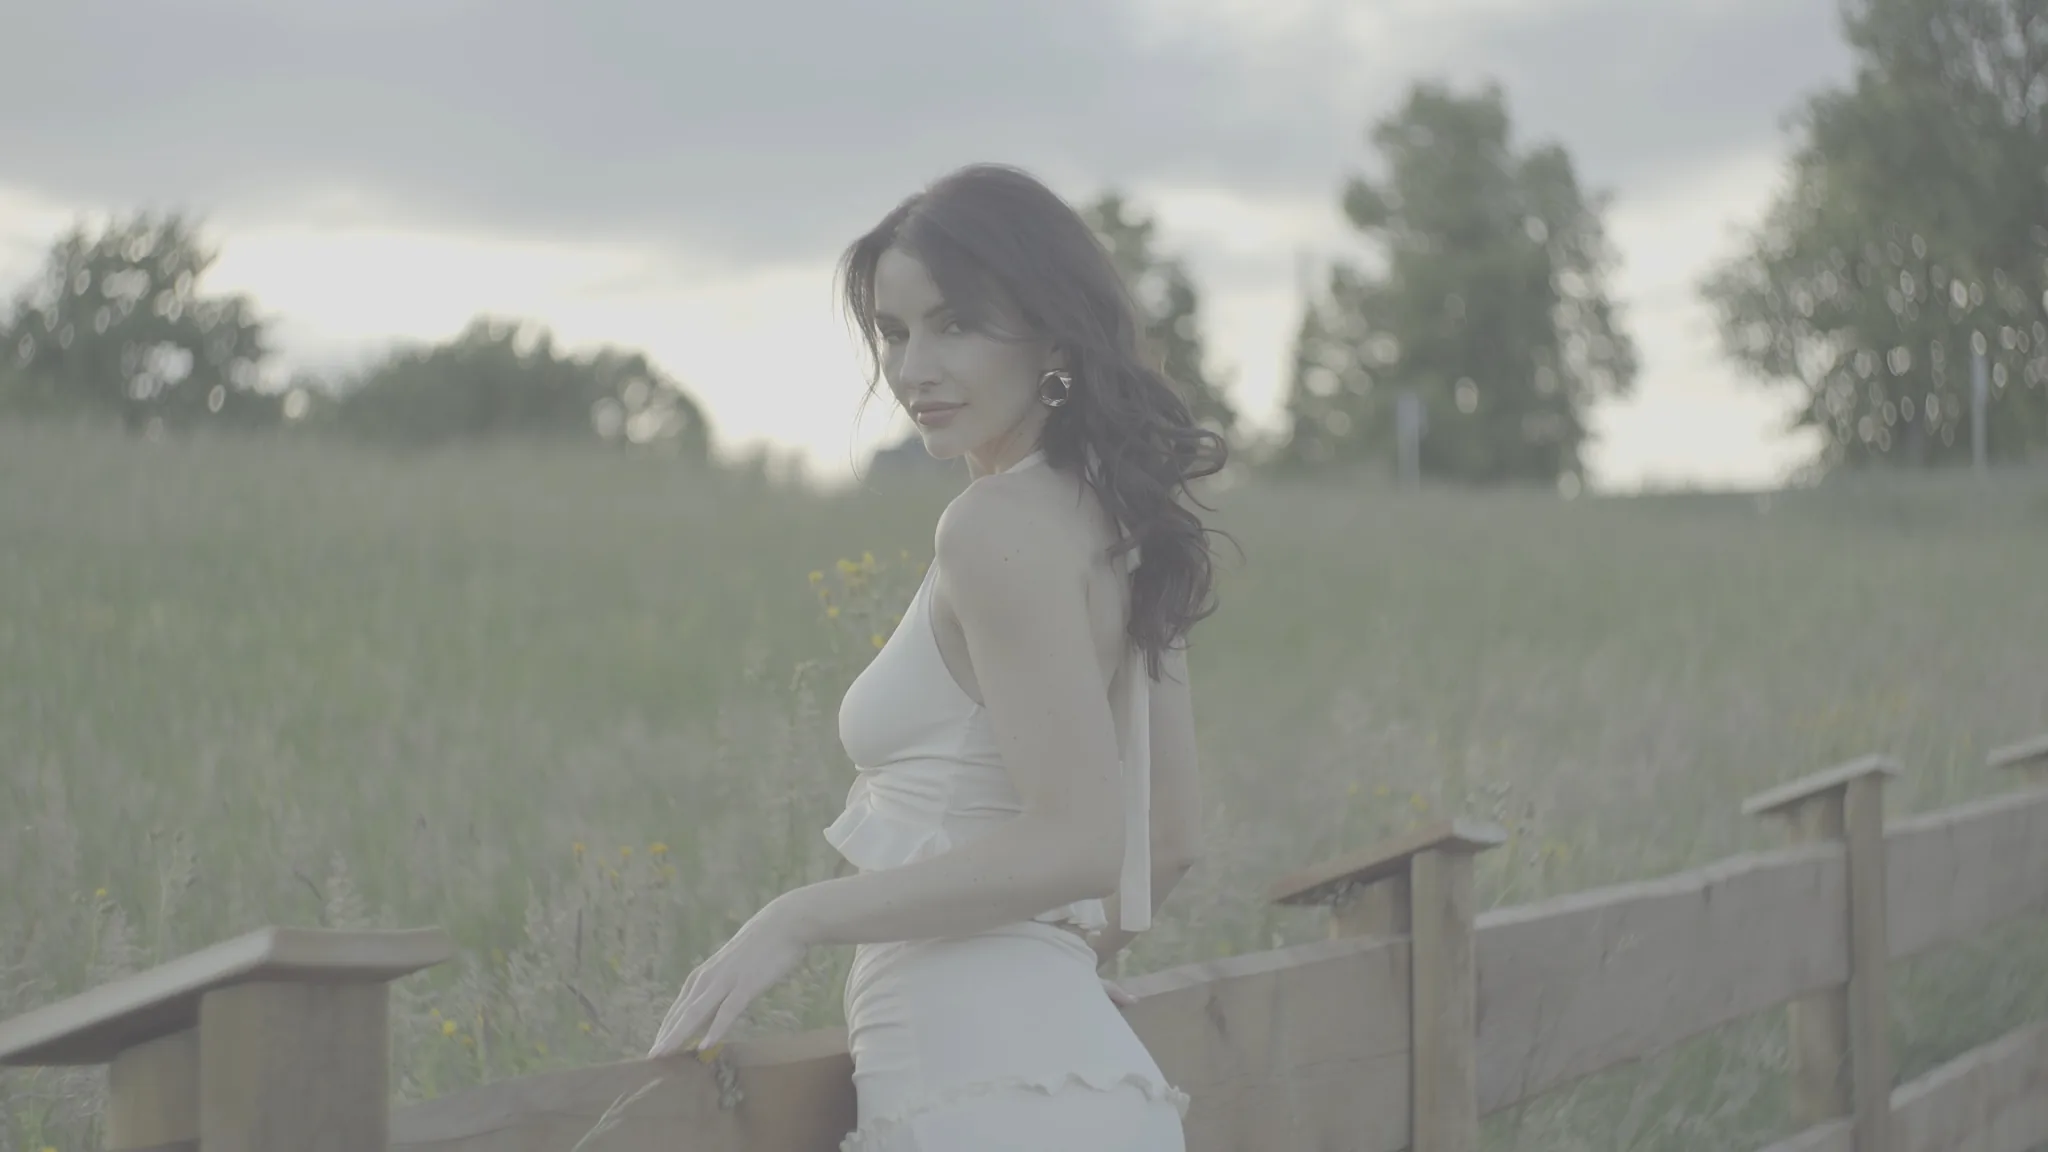
01
Set the input
In Setup, match the log curve and gamut. If a CST already converted it, choose Already converted. Balance the shot.
02
Choose a print
Enable Film Print. Pick a profile and blend it in. Check skin, shadows and highlights as you change the amount.
03
Finish lightly
Try Mist or Halation, then a little Film Grain. Compare the creative module on and off, and judge grain during playback.
Every tab has a job.
Pick a tab to see what it changes and where to start.
Setup
Get the starting point right.
Match the log curve and gamut arriving at the node. Choose Rec.709 for an SDR finish, or DWG / Intermediate for a managed grade.
Input Profile · Working / Output Space · Input Trim
Control illustration
Try this first
If you already used a CST or Resolve colour management, choose Already converted. Never apply the same camera conversion twice.
Color Science
Give colour weight.
Shape saturation, colour density and bright colour response. Use this when the image needs richer colour without simply turning everything up.
Vibrance · CMY density · Chroma Rolloff
Control illustration
Try this first
Make a small density adjustment, then compare skin and saturated highlights with the module bypassed.
Film Print
Choose the character.
Blend one of 89 print looks into your grade: colour negative, release print, chrome, monochrome and creative families.
Print Profile · Print Amount
Control illustration
Try this first
Choose a look and start at a modest blend. Nostalgic Negative, Classic Negative, Gold 200, E100 and HP5 Plus are designed interpretations, not exact stock reproductions.
Split Tone
Separate the mood by tone.
Nudge shadows, midtones and highlights toward different colours. Keep a face natural while giving its surroundings a warmer or cooler bias.
Tonal colours · Harmony · Skin protection
Control illustration
Try this first
Start with one highlight colour and a low amount. Add a shadow colour only if the shot needs it.
Diffusion
Soften the digital edge.
Mist combines highlight bloom with midtone softness. Glaze blends a softened image back into the frame for luminous depth.
Mist filter & density · Midtone Softness · Glaze
Control illustration
Try this first
Try a low filter density. Check eyes and fine texture at 100% before increasing the strength.
Optical Effects
Shape light and attention.
Halation adds warm spill around bright edges. Glow blooms highlights. Sharpen, Vignette and Blanking shape detail and the frame.
Halation · Glow · Sharpen · Vignette · Blanking
Control illustration
Try this first
Use a mask view to set the highlight threshold, then switch the mask off and bring the amount up gently.
Film Grain
Add a moving texture.
Grain varies with the frame and can respond differently in shadows, midtones and highlights. The stock and model shape its character.
Model · Stock · Strength · Tonal response
Control illustration
Try this first
Choose the stock first. Judge strength at delivery resolution and during playback, not just on a paused enlarged frame.
Presets
Keep a look you can reuse.
Save a creative starting point and bring it to another shot. Rebalance exposure and colour for that shot before judging the look.
Save · Load · Creative settings
Control illustration
Try this first
Presets leave camera input and calibration alone, so check Setup separately when changing cameras.
Licensing
Remove the watermark.
The free build includes the creative controls without a time limit. Activate a purchased licence on this computer to remove the watermark.
Activate · Check activation · Licence status
Control illustration
Try this first
Use the activation code shown in Resolve on the browser approval page, then return to the plugin and check activation.
One conversion. Two ways in.
Match the signal that reaches Helios, including its gamut. A camera brand alone is not enough.
Supported camera input
- 01Camera log + matching gamut
- 02Helios: select the exact Input Profile
- 03Rec.709 + Helios WDR, or DWG / Intermediate
WDR shapes technical camera inputs for an SDR finish, with a smooth highlight roll-off. DWG needs a later display transform.
Missing profile or conversion trouble?
- 01Resolve CST: exact source gamma + gamut
- 02Output: Rec.709 / Gamma 2.4
- 03Helios: Already converted + Rec.709 / sRGB
Use a CST if you prefer its result or your profile is missing. If Resolve also lacks the profile, use the camera maker’s matching conversion LUT upstream. D-Log M and D-Log are different.
Working in DaVinci Wide Gamut instead?
Have Resolve colour management or a CST deliver DaVinci Wide Gamut / DaVinci Intermediate to Helios. Select Already converted, then set Working / Output Space to DWG / Intermediate. Use the project’s output transform, or a downstream CST, for your display. Do not add another camera input conversion. RAW must be decoded in Resolve first.
Something looks wrong?
Washed out or much too contrasty
Check for a missing or double conversion. Match Input Profile and Working / Output Space to the signal at the node. Try the CST route above.
Unexpected colour casts
Check the gamut as well as the log name: S-Gamut3 and S-Gamut3.Cine are different. Confirm white balance and the RAW decode settings.
Crushed blacks or clipped highlights
Check Resolve’s Clip Attributes / Data Levels and Helios Input Code Range. Do not apply video-range expansion twice. Clipped camera channels cannot be recovered by a transform.
Bypass suddenly looks flat
Global bypass also removes Helios’s camera conversion. To compare a creative effect, switch that module off instead.